If you’ve ever recorded audio and ended up with either a noisy mess or a distorted disaster, chances are the gain wasn’t set right. That’s where mic gain staging comes in—a fundamental skill that separates clean, professional-sounding recordings from amateur ones. Let’s break it down together in plain English.
What Is Mic Gain Staging and Why Does It Matter?
Mic gain staging is the process of setting the right level of signal as it travels through different stages of your audio chain—starting from your mic preamp, through your interface, and into your recording software.
Why is this important? Because every stage adds or affects signal and noise. Done wrong, you’ll either get too little signal (and a lot of hiss when you try to boost it later) or too much (hello, clipping). Proper gain staging helps you avoid both.
Understanding Gain (And How It’s Not Just Volume)
Before we jump into setting gain, let’s clear up a common mix-up: gain is not volume.
- Gain controls how much signal your mic preamp is boosting before it gets processed or recorded.
- Volume controls how loud that signal is after it’s been processed.
So gain affects the quality of the recording, while volume affects playback loudness. Getting gain right ensures your signal is strong and clean without distortion.
Important Note: Your headphone or monitor volume is separate from your recording level. You can turn your speakers up loud while recording at proper gain levels, or listen quietly while recording hot signals. Always set your recording levels first, then adjust monitoring to taste.
The Basics of Mic Gain Staging
When you hear “gain staging,” think of it as setting a healthy level at every stage of your audio path. You want the signal to be loud enough to rise above the noise floor, but not so loud that it peaks or distorts.
Done correctly, gain staging:
- Keeps your signal clean
- Prevents unwanted distortion
- Helps your plugins and gear work at their best
- Gives you a better-sounding mix overall
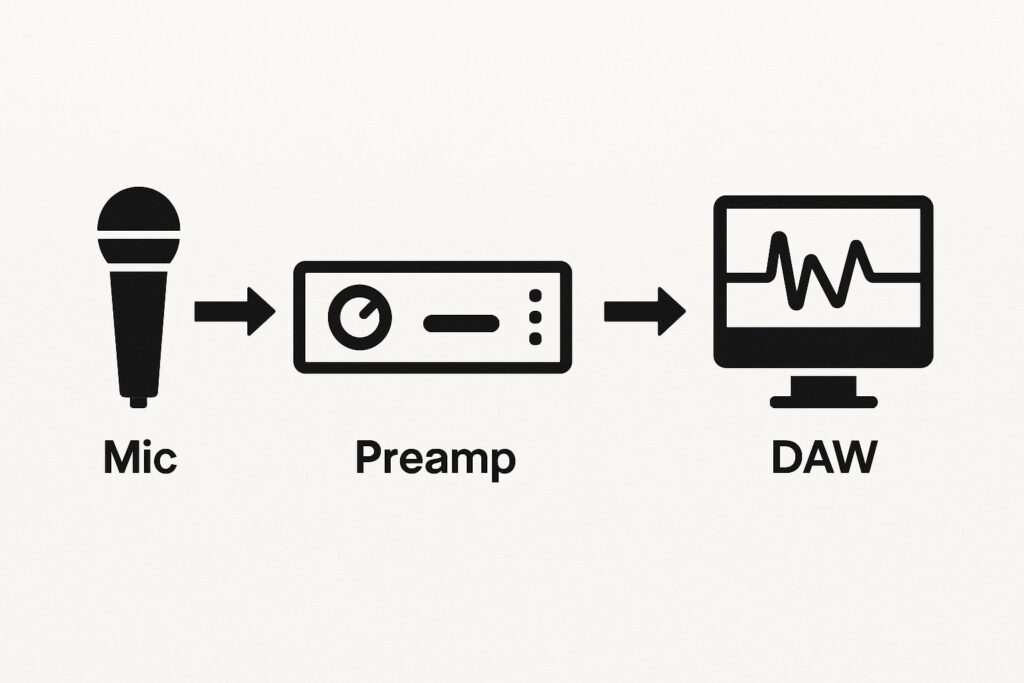
This visual shows the path your audio signal takes, with gain being controlled primarily at the preamp stage (either in your interface or external preamp).
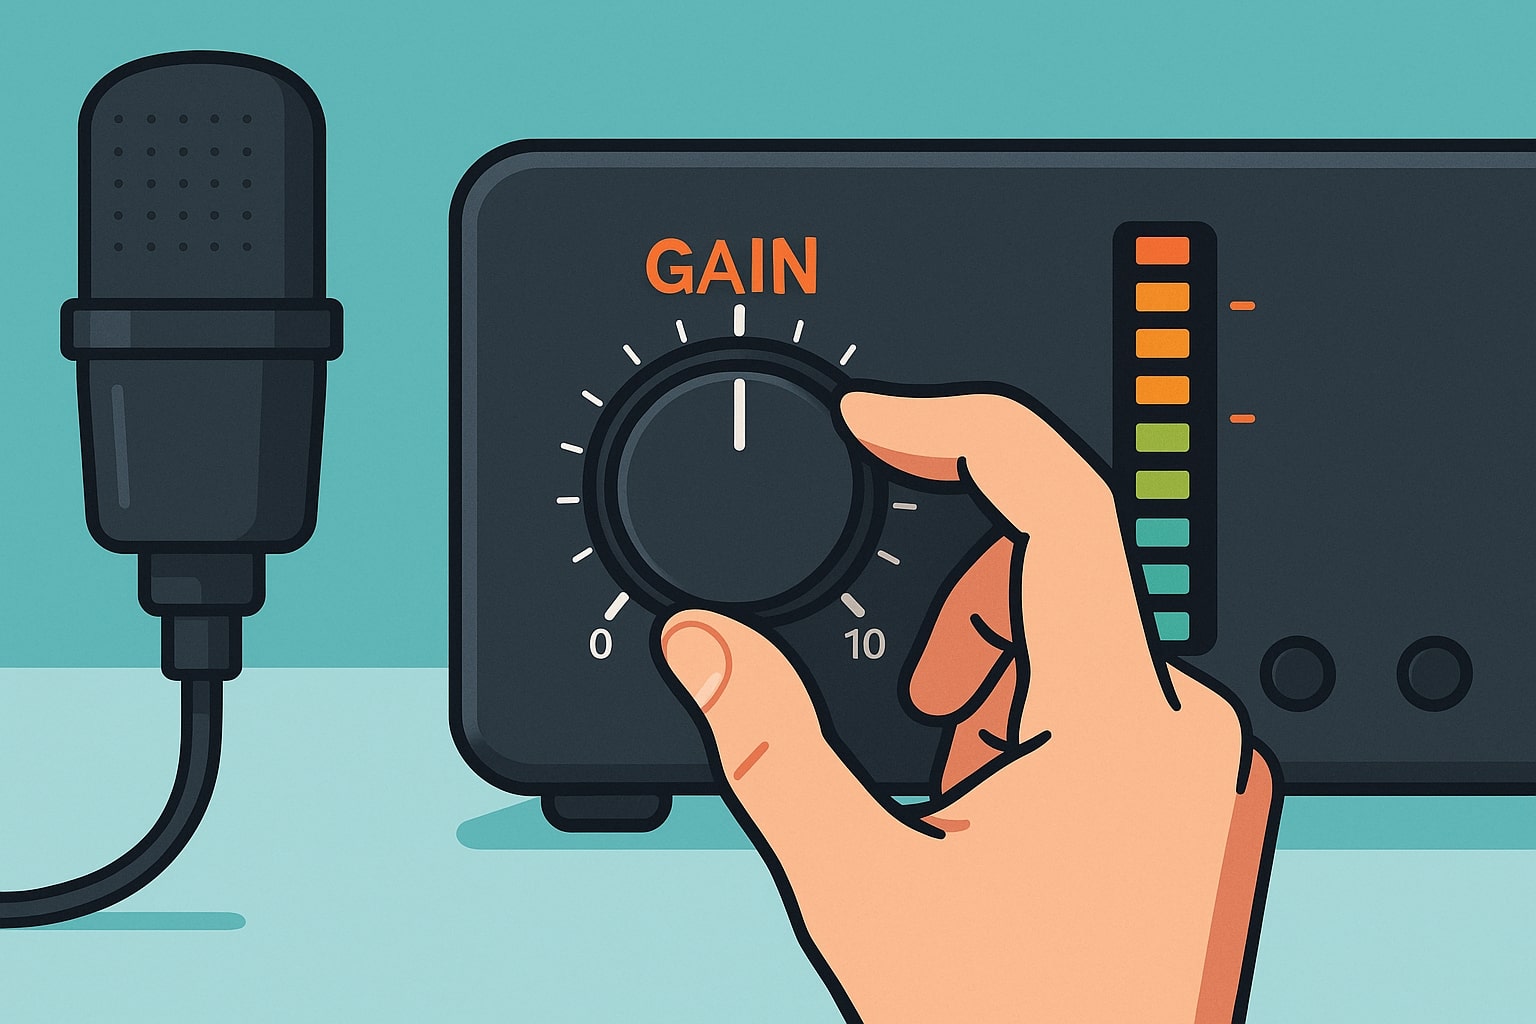
Understanding Your Meters
Most recording software and interfaces show input levels with colored meter bars:
- Green: Good, healthy signal levels
- Yellow/Amber: Approaching the limit—still okay but getting close
- Red: Clipping territory—back it off immediately
The numbers on your meter represent decibels (dB), with 0dB being the maximum digital level. Negative numbers (like -12dB) indicate how much headroom you have below that maximum.
Digital vs. Analog: Why Headroom Matters
In the digital world, there’s a hard ceiling at 0dB—go above it and you get harsh, unusable distortion. Unlike analog equipment that can sometimes sound musical when pushed, digital clipping is always bad news.
This is why we aim for peak levels between -12dB and -6dB. This digital headroom gives you room for unexpected loud moments and ensures your signal stays clean. Think of it as a safety buffer that also gives your mix engineer (even if that’s you) room to work.
How to Set Mic Gain Correctly
Here’s a simple way to set your mic gain the right way:
- Plug in your mic and open your DAW or recording software.
- Speak or play at the volume you’ll actually be performing at. No whispering during setup and then shouting during takes.
- Watch the input meter. Aim for peaks between -12dB and -6dB. This gives you headroom without being too quiet.
- Adjust the preamp gain knob (on your audio interface or mixer) until you’re consistently hitting that range.
- Check with headphones. If it’s distorting or sounds too noisy, tweak it.
Some interfaces have a clip indicator light—avoid lighting it up. That means your signal is too hot.
Equipment-Specific Considerations
USB Microphones: These have built-in preamps, so you’ll adjust gain through software (usually in your DAW or the mic’s control software). Look for a gain knob or slider in your recording software’s input settings.
Audio Interfaces: Most have physical gain knobs on the front panel. Start with the knob at minimum, then slowly turn it up while monitoring your levels. Some interfaces also have input pad switches for very loud sources.
Digital Mixers: Gain control happens in software. Look for input gain or trim controls in your mixer’s app or control surface.
Phantom Power: If you’re using condenser mics, make sure phantom power is on, but be aware that some condenser mics are very sensitive and may need less gain than you’d expect.
Common Mistakes in Gain Staging
Here are a few things beginners often get wrong:
- Setting gain too low: This leads to a weak signal and lots of noise when you boost it in mixing.
- Setting gain too high: This causes clipping and distortion, which can’t be fixed later.
- Changing gain mid-session: Always keep it consistent, or your takes won’t match.
- Confusing input level with monitoring level: Your headphones can be loud while recording quiet, or vice versa.
To avoid these, always do a proper soundcheck and keep an eye on your meters throughout the session.
Practical Tips for Different Scenarios
For vocals: Use a pop filter, get close to the mic (but not too close), and set gain so loud moments don’t clip. You want emotion, not distortion. Leave extra headroom for passionate performances—singers often get louder as they get into the song.
For instruments: Check the dynamic range. For guitars or synths, play the loudest part while adjusting gain. For acoustic instruments, mic placement also affects how hot the signal gets. Electric guitars going direct might need input pads to avoid overloading your interface.
Genre Considerations:
- Classical/Jazz: Need more headroom for wide dynamic range
- Rock/Pop: Can run a bit hotter since compression is often used
- Spoken word/Podcasts: Consistency is key—aim for steady levels around -12dB
Live vs. Studio: In the studio, you’ve got time to tweak and perfect. In live setups, you need to leave more headroom to account for unpredictable volume changes. Always soundcheck with the performer at their actual performance energy level.
Troubleshooting Common Issues
“My levels look good but it sounds noisy”:
- Check your room acoustics—background noise gets recorded too
- Make sure you’re close enough to the mic
- Your interface’s preamp might be noisy at high gain settings
“I’m getting distortion even at low gain”:
- Try using an input pad (attenuation switch) on your interface
- Check if your mic is too close to a loud source
- Some ribbon mics can overload preamps even at low gain settings
“My recordings are too quiet”:
- You may be setting gain too conservatively
- Check that you’re not confusing input and output levels
- Make sure your interface drivers are properly installed
Wrapping Up
Mic gain staging isn’t just some technical chore—it’s the foundation of a good recording. When you understand how to set gain properly, you avoid a ton of headaches later in the mix.
Remember:
- Gain ≠ Volume (and monitoring level ≠ recording level)
- Always leave headroom for the unexpected
- Trust your ears and meters
- Different sources and genres have different needs
- When in doubt, err on the side of caution
It might feel like a small thing, but nailing your gain staging is one of the easiest ways to level up your audio quality. The few extra minutes you spend getting it right will save you hours of frustration in post-production.
Keep practicing, keep listening—and your recordings will thank you.
Leave a Reply