Imagine you’re gearing up for an important video conference call, or you’re about to record a podcast episode that you’ve been planning for weeks. Perhaps you’re streaming to an eager online audience or just connecting with friends and family. In each of these scenarios, one piece of technology can make or break the clarity of your communication: the microphone.
In today’s digital world, microphones are the unsung heroes of our daily interactions. Whether embedded in our smart devices, perched on our desks, or hooked onto our shirts, they capture our voices and bring our words to life across the virtual landscape. They are essential tools for content creators, professionals, and casual users alike, acting as the bridge between our physical and digital worlds.
But what happens when your trusted microphone starts to let you down? A host of issues can arise: your voice fades in and out, static fills the ears of your listeners, or worse, complete silence when you expect to be heard. These common microphone problems can be more than just frustrating; they can disrupt presentations, ruin recordings, and hinder effective communication.
This blog post is your lifeline. You’ll discover the types of microphones you might be using, the myriad of problems that can plague them, and the steps you can take to troubleshoot these issues. From simple, quick fixes to more complex solutions, you’ll learn how to ensure your voice is heard loud and clear. By the end, you’ll be equipped with the knowledge to prevent future issues, and you’ll know when it’s time to call in the professionals for backup.
So, let’s dive in and turn those microphone mishaps into distant memories. Your voice deserves to be heard.
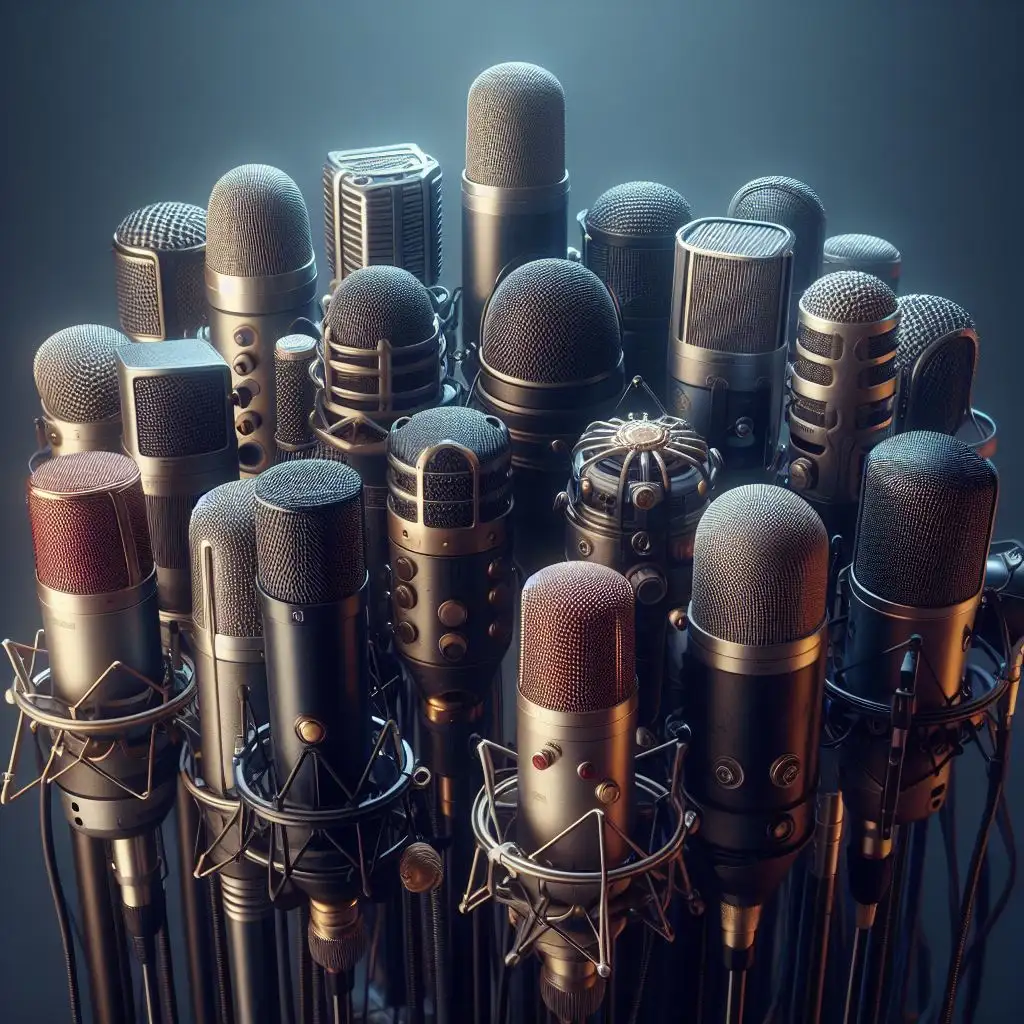
Understanding Different Types of Microphones
When you speak, your microphone is your ambassador, translating your voice into electrical signals that can be shared and heard across the globe. But not all microphones are created equal, and understanding the differences can be pivotal in troubleshooting. Let’s break down the key players:
Dynamic Microphones
You’re likely familiar with dynamic microphones, even if you don’t recognize the name. Robust and resilient, they are the workhorses of the microphone world, often used on stage and in live settings. These mics are known for their durability and ability to handle high sound pressure levels without distortion. If you’re facing issues with a dynamic microphone, you might have to check for cable connections or inspect for any visible signs of wear and tear.
Condenser Microphones
Enter the studio staple: the condenser microphone. With its sensitivity to the nuances of sound, it’s your go-to for capturing vocals and high-fidelity recordings. But with great sensitivity comes a greater need for care. They require phantom power and are more prone to issues like RF interference or problems stemming from environmental humidity.
Ribbon Microphones
The vintage sound aficionado’s choice, ribbon microphones, offer a warm and natural sound. They contain a thin ribbon that responds to sound velocity. These mics are delicate and can be damaged by phantom power if not properly designed to handle it. Treat them gently, and they’ll reward you with that classic sound.
Each type of microphone brings its unique strengths to the table, along with its own set of potential issues. As you continue to explore the common problems that may arise, remember that the type of microphone you’re using can be a clue to unraveling the solution.
Read more: Microphone Types and Their Use Cases
Common Microphone Problems
As you delve into the world of audio, it’s important to recognize the obstacles that might come your way. Let’s identify some of the most common microphone issues that can throw a wrench in your plans:
Hardware Issues
- Faulty connections and cables: Sometimes the culprits are the simplest components. A loose connection or a worn-out cable can introduce noise or cause intermittent audio cut-outs.
- Damaged microphone components: Whether it’s a dropped mic or a blown-out element, physical damage can drastically affect your microphone’s performance.
- Identifying physical damage: Learning to spot signs of damage on your microphone can save you time in troubleshooting. Look for dents, broken parts, or anything out of the ordinary.
Software Issues
- Driver-related problems: Outdated or corrupt drivers can prevent your microphone from functioning correctly. Keeping your drivers up to date is crucial for optimal performance.
- Compatibility issues with certain applications: Not all software plays nice with every microphone. Sometimes, the app settings themselves can limit your microphone’s capabilities.
- Incorrect microphone settings: Whether in your computer’s operating system or a specific program, incorrect settings can mute or lower the input levels of your microphone, making it seem like it’s not working.
Troubleshooting Steps
Now that we’ve pinpointed some typical problems, let’s address how to tackle them:
Basic Troubleshooting
- Ensuring the microphone is plugged in correctly: Double-check that your microphone is securely connected to the correct port.
- Checking the mute switch and volume settings: A muted mic or low volume can be easily overlooked. Ensure that your microphone is set to an audible level.
- Restarting the device: Sometimes, a simple reboot of your computer or audio device can resolve temporary glitches.
Advanced Troubleshooting
Once you’ve completed the basic troubleshooting steps without success, it’s time to delve into more advanced methods to diagnose your microphone issues. It’s important to approach these steps methodically to isolate and, hopefully, resolve the problem.
Hardware Checks
- Testing with a Different Cable
If you suspect the cable might be the culprit, try using a different one. A faulty cable can often be the simplest yet overlooked reason for microphone malfunction. Swap it with a known working cable and check if the issue resolves. - Inspecting the Microphone Jack and Ports
Examine the microphone jack and the port on your device for any debris or visible signs of damage. Sometimes, dust or lint can accumulate in these areas, causing a poor connection. Gently clean the jack and the port with a soft, dry cloth or a can of compressed air. - Using an External Preamp or Audio Interface
For a more professional setup, especially if you’re using a microphone that requires phantom power, connect your microphone to an external preamp or an audio interface. This not only provides the necessary power but can also significantly enhance the sound quality by ensuring a cleaner signal.
Software Checks
- Updating or Reinstalling Microphone Drivers
Drivers can become outdated or corrupt over time. Check the manufacturer’s website for the latest driver software for your microphone and install it. If the latest drivers are already in place, try uninstalling and then reinstalling them, which can often reset any misconfigured settings. - Adjusting Microphone Settings in the Operating System
Navigate to your operating system’s sound settings. Ensure that your microphone is selected as the default recording device and that its levels are appropriately set. Experiment with boost and noise suppression features if available to see if they improve the quality of the audio input. - Checking Application-Specific Settings
If your microphone problem is application-specific, open the application you’re having trouble with and head to its audio settings. Verify that your microphone is recognized and selected within the application, and adjust the settings there as needed.
Environmental Considerations
- Reducing Background Noise: To ensure clarity during recording or communication, reduce background noise as much as possible. Turn off any unnecessary devices that create noise and close doors and windows to minimize outside interference.
- Improving Room Acoustics: The acoustics of your room can significantly impact the quality of your recording. Soft surfaces absorb sound, while hard surfaces reflect it, which can cause echo or reverb. To improve your room acoustics, consider adding materials like acoustic foam, carpets, or curtains to dampen unwanted sound reflections. If you’re on a budget, makeshift solutions like heavy blankets or bookshelves filled with books can also help to break up sound waves and reduce echo.
Remember that these advanced troubleshooting steps require a bit more technical knowledge and patience. Take your time and test your microphone after each adjustment to determine if the changes have made a positive impact. If these steps still don’t resolve your issue, it may be time to consult with a professional or consider if your microphone requires repair or replacement.
Preventative Measures
Maintaining your microphone properly can extend its life and ensure it delivers the best possible performance. Here are some preventative measures that can help you avoid common problems.
Regular Maintenance Tips for Microphones
- Keep Your Microphone Clean Regularly wipe down your microphone with a soft, dry cloth to remove dust and grime. Avoid using liquid cleaners directly on the microphone, as moisture can damage the internal components.
- Check Connections Periodically Loose connections can lead to poor sound quality or intermittent dropouts. Tighten up any loose parts and ensure that all cable connections are secure.
- Handle with Care Microphones are sensitive instruments. Always handle them gently to avoid damaging the internal elements. When setting up or adjusting your microphone on a stand, do so with caution and ensure it’s securely fastened.
Best Practices for Storing and Handling Microphones
- Proper Storage When not in use, store your microphone in a dry and dust-free environment. Controlled temperature and humidity levels can prevent moisture build-up that might otherwise lead to corrosion or mold.
- Protect the Diaphragm The diaphragm of a microphone is its most delicate part. Store your microphone in an upright position to avoid putting pressure on this component, which could potentially alter its sensitivity or frequency response.
- Use a Protective Case When transporting your microphone, always use a protective case or pouch. This will safeguard it from drops, bumps, and scratches, which are common when moving equipment around.
Recommendations for Protective Gear and Cases
- Padded Cases Invest in a high-quality padded case that provides a snug fit for your microphone. Cases with a hard outer shell and foam lining offer the best protection against physical shock.
- Pop Filters and Windshields Use pop filters for studio recording to protect your microphone from saliva and moisture, which can accumulate on the diaphragm and cause damage over time. For outdoor use, a windshield can protect from wind and environmental particles.
- Mic Clips and Shock Mounts Secure your microphone with appropriate mic clips or shock mounts. These not only hold your microphone firmly in place but also reduce handling noise and vibrations that can compromise your sound.
- Avoid Extreme Temperatures Never leave your microphone exposed to extreme temperatures, be it hot or cold, as this can cause parts to expand or contract, potentially leading to permanent damage.
- Detaching Cables It’s a good practice to detach cables from your microphone after use. This prevents strain on the connectors and can also reduce the risk of the cables getting tangled or damaged.
- Moisture Control If you’re in an environment where you can’t control humidity, consider using small packets of silica gel in your microphone storage case. These desiccants absorb moisture and can help keep your microphone dry.
By following these simple yet effective preventative measures, you can help ensure that your microphone remains in excellent condition for years to come. Regular maintenance and proper storage are key to avoiding common issues that may impede the performance of your microphone. In addition, staying diligent with the care of your microphone will not only enhance the quality of your recordings but also save you time and money by avoiding frequent repairs or replacements.
Professional Help
Despite your best efforts in troubleshooting and preventative maintenance, there may come a time when professional help is required. Knowing when to seek out repair services can save you from further damaging your microphone or wasting time on unfixable issues.
When to Seek Professional Repair Services
- Persistent Technical Issues
If you’ve gone through all the troubleshooting steps and the microphone still isn’t working properly, or the same problem keeps recurring, it’s time to call in the experts. - Physical Damage
Visible signs of damage, such as a bent grille, a torn diaphragm, or broken components, are clear indicators that professional repair is necessary. - Electrical Faults
If your microphone emits smoke, has a burning smell, or you experience electrical shocks when touching it, immediately stop using it and seek professional assistance. - Sound Quality Deterioration
When the audio quality degrades inexplicably, with symptoms like reduced sensitivity, distortion, or unusual self-noise, and you’ve ruled out all other factors, a skilled technician should have a look.
Finding a Reliable Technician or Service Center
- Manufacturer Recommendations
Check if the microphone manufacturer recommends any particular service centers or has certified technicians. They are likely to have the specific experience and parts needed for your microphone type. - Reputation and Reviews
Research online for reviews or ask for recommendations from fellow audio professionals to find a reputable technician. Positive word-of-mouth is often a good indicator of quality service. - Warranty and Service Guarantees
If your microphone is still under warranty, contact the manufacturer for repair or replacement options. For out-of-warranty service, choose a technician who offers a guarantee on their repairs. - Specialization
Some microphones, especially vintage or high-end models, require specialized knowledge. Look for a service center or technician with expertise in your particular microphone brand or type. - Transparent Communication
A reliable service provider should provide clear communication about the diagnosis, the necessary repairs, and an estimate of the costs involved. They should also be willing to answer any questions you have about the process.
By taking your microphone to a professional when necessary, you ensure that it receives the best possible care. Professionals have the tools, parts, and expertise to diagnose issues accurately and perform repairs that are beyond the scope of typical at-home maintenance. Remember, trying to fix complex problems yourself
Wrap up
Through this post, you’ve gained a better understanding of the various types of microphones, common issues that can arise, and how to address them. Remember that troubleshooting is often a process of elimination—test systematically and don’t overlook the simple solutions.
Keep in mind the preventative measures to maintain your microphone’s health and ensure its longevity. With this knowledge, you’re now better equipped to handle microphone problems and can help others do the same.
Now, it’s your turn to share. Have you encountered any microphone issues that baffled you? What tips and tricks have you discovered in your own experience? Join the conversation and let’s all help each other to be heard, loud and clear.
Leave a Reply